
TL;DR:
- Plan ahead: pick a safe, comfortable site and do a backyard test run with your gear.
- Set up smart: pitch on flat, dry ground, use a footprint and rainfly, and keep gear organized in vestibules or storage sacks.
- Sleep warm and well: choose the right pad and sleeping bag, layer clothing, and use simple hacks like hot water bottles and liners to stay cozy.
Heading out for your first few nights under canvas is one of the most rewarding ways to connect with nature. The sound of wind through the pines, the smell of a wood fire, and a sky full of stars are hard to beat. But for beginners, tent camping comes with a handful of challenges: choosing where to set up, getting the tent pitched properly, and making sure you sleep comfortably.
This guide walks you through 10 essential tent camping tips and tricks—from planning and doing a backyard test run to clever campsite setup and simple comfort hacks that make chilly nights cozy. It’s friendly, practical, and aimed at giving you the confidence to enjoy your next trip, whether it’s a weekend at a state park or a multi-night backcountry adventure.
Table of Contents
- Planning and Pre-Trip Preparation
- Setting Up Your Perfect Campsite
- Sleeping Soundly in the Great Outdoors
- FAQ
Planning and Pre-Trip Preparation
Choosing the right campsite location
Choosing the right campsite is the foundation of a great camping experience. A well-chosen location minimizes hazards, increases comfort, and can even save you from a sleepless night. When scouting a spot, prioritize these elements:
- Flat ground: Look for a level area to pitch your tent. A slight slope is okay to shed rain, but avoid steep inclines that will make sleeping uncomfortable or encourage water pooling.
- Dry ground: Avoid low spots, depressions, or areas that collect water after rain. If the ground looks marshy, odorous, or the grass is flattened from previous wet conditions, move on.
- Natural shelter: Trees or shrubs can break wind and provide shade, but be cautious of dead limbs (widowmakers) and avoid pitching directly under trees with loose branches. Also, watch for ant hills, beaver/rodent activity, or dense insect hotspots.
- Proximity to water: Being near a lake or stream is convenient but pick your spot at least 200 feet (about 60 meters) from water sources to protect riparian zones and avoid insects or flash floods. Many parks require this distance to follow Leave No Trace principles.
- Sun and wind: Consider sun exposure in the morning and evening—if you like morning warmth, face your tent east; if afternoons are hot, choose shade. Also consider prevailing wind direction to arrange your rainfly and stove location safely.
- Privacy and regulations: Follow campground rules about reserved spots and use designated pads where provided. If dispersed camping, be respectful of other campers and distance yourself for privacy and quiet.
One quick check: if you see tire ruts, footprints crossing the site, or consistently trampled vegetation, that area may flood during storms. Pick a cleaner, less disturbed area if possible.
Doing a backyard test run
A backyard test run is one of the best ways to remove anxiety before your first real trip. Set your tent up in the yard at least once (preferably the whole kit—tent, rainfly, footprint, poles, stakes, and anything you’ll take). Here’s why it helps and what to practice:
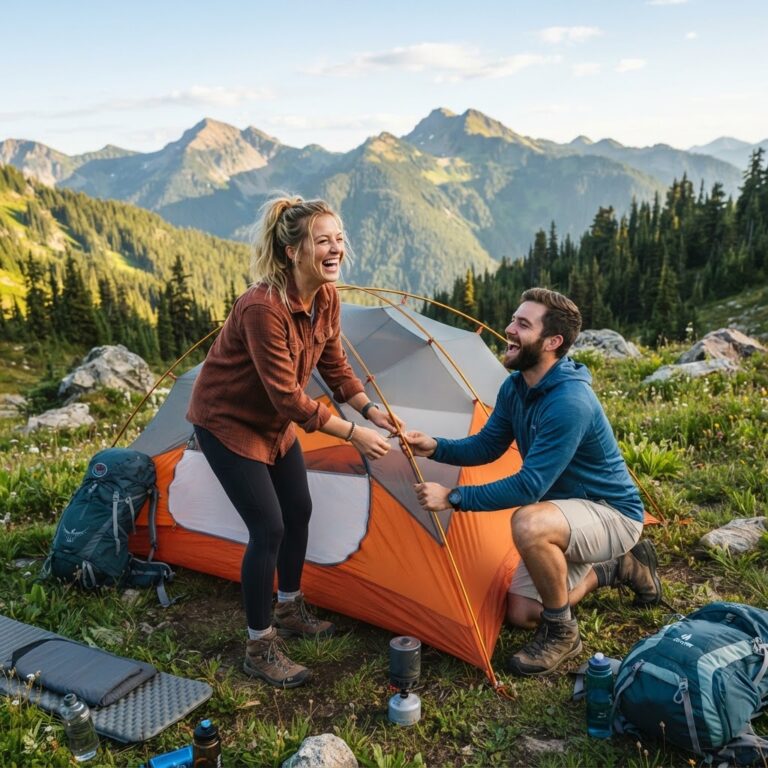
- Familiarize yourself with the tent: Learn how the poles clip in, where the seams are, and how the rainfly attaches. Practice putting the tent up in daylight and in dusk if possible, so you’re not fumbling with unfamiliar parts at night.
- Count and test parts: Make sure you have all the stakes, guylines, and poles. Mark small parts with colored tape or a tiny tag if you’re prone to losing them. Check zippers, patch kits, and seam tape.
- Test sleep systems: Inflate your sleeping pad fully, lay out your sleeping bag, and sleep in the tent for a night if you can. This will reveal if you need a larger tent, a thicker pad, or an alternative bag for warmth.
- Packing practice: Pack and load your vehicle in the way you’ll when leaving. Take note of what you use most, item placements, and how much space everything occupies. This helps reduce chaos at the campsite.
- Quick problem solving: A backyard test lets you identify missing items (like extra stakes or a mallet) and practice repairs—patching a small hole, sealing a leaky seam, or rinsing muddy gear—without the stress of being in the wild.
Even if the test feels silly, it dramatically increases your confidence. Many small mistakes on the trail come down to unfamiliarity. A few hours in your yard will save you hours of frustration later.
Setting Up Your Perfect Campsite
Tips for a flat and dry pitch
Once you’ve chosen your site and arrived, take a few extra minutes to set the pitch properly. A careful setup pays off in comfort and longevity of your gear. Follow these practical steps:
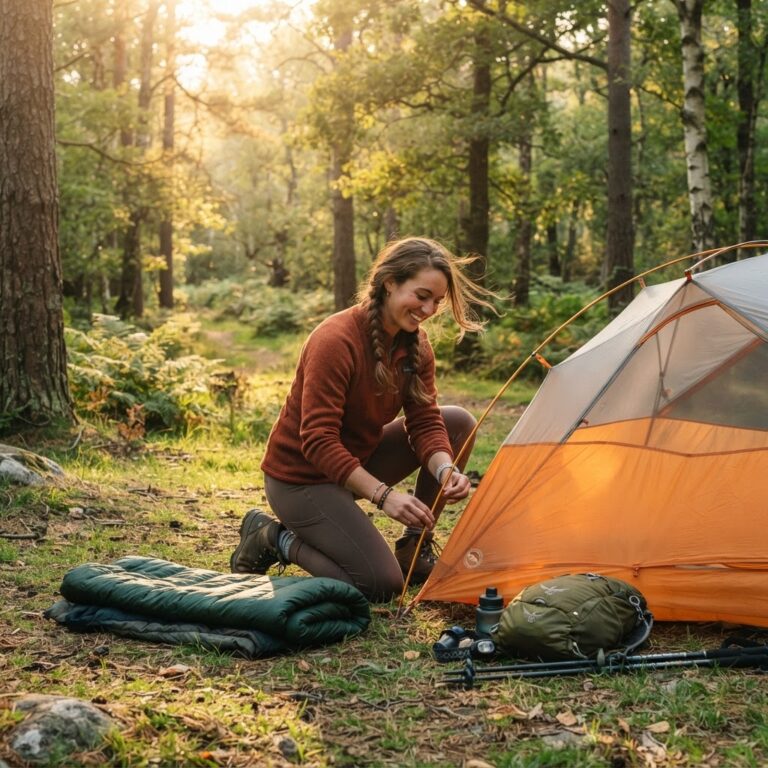
- Clear the ground: Remove rocks, pine cones, large sticks, and anything sharp. Lay out a footprint or tarp to protect the tent floor from abrasion and punctures. The footprint should be slightly smaller than the tent floor so rain runs off the edges.
- Orient the tent: Place the long side of the tent perpendicular to the prevailing wind if possible. This reduces the tent’s profile to wind and keeps it more stable. Also orient the door toward the morning sun if you want early warmth.
- Use a level surface: If the ground is slightly uneven, place your sleeping pads so feet and head are on even spots. For two sleepers with different lengths, consider placing the longer person’s pad in the shallower end of any slope.
- Stake properly: Drive stakes at a 45-degree angle away from the tent, so they hold under tension. Use guy lines for stormy conditions and tie them to trees or additional stakes for extra stability. Heavy winds are best resisted by distributing load across several anchor points.
- Handle rain before it arrives: If rain is in the forecast, position the tent so water runs away from the door and vestibule area. Make sure the rainfly is fully secured and taut—loose flys cause flapping, which lets water in and makes noise.
Taking time with the pitch is not just about comfort it’s about avoiding preventable problems like a flooded floor or a tent that collapses in wind. Simple attention here yields big dividends.
Keeping your gear organized inside the tent
An organized tent feels larger. A few simple habits keep your sleeping space tidy, reduce wear on gear, and speed up morning breakdowns.
- Use vestibules and gear lofts: Store boots, backpacks, and wet clothing in the vestibule rather than inside the sleeping area. If your tent has a gear loft or mesh pockets, use them for headlamps, phones, and small items.
- Stuff sacks and packing cubes: Pack clothes in small stuff sacks or cubes and label them by function (sleep, cold weather, cooking). This prevents digging through piles at night and keeps damp items separate.
- Dedicated shoe and wet bags: Keep shoes in a waterproof bag or dedicated corner. If gear gets wet, put it in a separate bag to prevent moisture transfer to sleeping bags and pads.
- Nighttime essentials pouch: Keep frequently used items—headlamp, water bottle, medications, and a small flashlight—in a bedside pouch or pocket so you don’t have to fumble around in the dark.
- Ventilation and moisture control: Keep vents slightly open to reduce condensation. If moisture does accumulate, dry sleeping bags and clothing during daylight hours when you can, and avoid cooking inside the tent (carbon monoxide and condensation hazards).
Tip: designate a “no-entry” zone in your tent for sleeping only. Reserve one side for gear and the other for mattresses—this reduces dirt and extends the life of your sleeping bag and pad.
Adopting a simple system (vestibule for boots/backpacks, one pocket for essentials, a bag for wet gear) will make your nights calmer and mornings easier.
Sleeping Soundly in the Great Outdoors
Mastering your sleep system setup
Sleeping well outdoors is about integrating tent, pad, and bag into a single system. Each component contributes and few simple optimizations dramatically improve rest.
- Pad selection: Your sleeping pad is the most important piece for comfort. Pads come in foam, inflatable, and self-inflating varieties. Your choice should balance comfort, insulation (R-value), weight, and durability. A pad with an R-value of 3 or higher is a good all-season choice for many locations.
- Placement and anchoring: Lay your pad up against the head of the sleeping area with the widest part under your hips. Use tent straps or bungee attachments if available to keep the pad from sliding. For multiple people, position pads to avoid touching sides that slope down into center seams.
- Sleeping bag and temperature rating: Choose a sleeping bag with a comfort rating slightly lower (warmer) than the lowest night temperature you expect. Understand the difference between comfort and lower limit ratings—aim for comfort or slightly warmer to ensure a restful night.
- Use a liner: A liner adds a degree of warmth, keeps your sleeping bag clean, and is easy to wash. Silk liners add about 5-7°F of warmth; fleece liners add more bulk and warmth. They’re an inexpensive way to extend the comfort range of a bag.
- Create zero layers: Dress in thin base layers to bed, then add an insulated layer if necessary. Avoid sleeping in damp clothing; change into dry socks and a dry beanie for extra warmth at night.
Small adjustments—moving the pad slightly, re-zipping your sleeping bag to trap heat, or using a liner—can be the difference between tossing and turning and a full, restorative sleep.
Staying warm during chilly nights
Cold nights are a common concern for new campers, but a handful of smart strategies keep you warm without extra bulk.
- Insulate from below: Heat loss through the ground is the biggest culprit. Use an insulated pad with an appropriate R-value, or stack a closed-cell foam pad under an inflatable for extra insulation. Even a simple emergency bivvy or foam piece beneath the pad helps.
- Layer correctly: Cotton is a no-go for sleeping because it holds moisture. Opt for synthetic or wool base layers and a lightweight insulating top. A fleece hoodie and warm socks can keep you cozy without overheating.
- Hot water bottle trick: Fill a Nalgene or leak-proof bottle with hot water, wrap it in a sock, and place it near your feet before tucking in. It provides hours of warmth and is a classic backcountry hack.
- Vent for condensation: Yes, ventilation can feel counterintuitive when cold. Proper ventilation reduces condensation inside your tent—which can chill you more than opening a vent ever will. Keep vents open slightly to allow moist air to escape.
- Avoid sweating: Remove damp or sweaty layers before bed. Bring a change of dry socks and a dry base layer specifically for sleeping. Sweat inside your sleeping bag leads to chill once your body temperature drops.
Below is a quick comparison table of common sleeping pad types to help you choose the pad that matches your needs:
Choosing the right pad depends on your priorities. For backpacking where weight matters, a lightweight inflatable with a good R-value is often best. For car camping or rough ground, a closed-cell foam pad or self-inflating pad may be more practical and durable.
Frequently Asked Questions
What is the best way to keep a tent dry during rain?
Keeping a tent dry involves preemptive setup and smart habits. First, use a footprint or tarp under the tent to protect the floor and direct run-off away from the tent. Ensure the rainfly is correctly attached and staked out snugly so water sheds rather than pools. Pitch on slightly higher ground with good drainage and avoid depressions. Seal seams with tape or seam sealer if they’re older tents and check the rainfly for holes. When entering or exiting, wipe off wet gear in the vestibule instead of bringing it into the sleeping area. Finally, ventilate the tent slightly to reduce condensation, which can leave you feeling damp even without direct rain inside.
How do I choose the right size tent for my group?
Tent sizing is typically listed as the number of people it can sleep, but those numbers assume minimal gear and a tight fit. For comfort, add one person’s worth of space: a two-person tent is roomy for one, and a three-person tent feels better for two. If you store gear inside your tent, size up by another person. Also consider seasonal needs: taller tents are better for social comfort, and four-season tents provide sturdier shelters for winter. When in doubt, prioritize comfort and storage—it’s nicer to have extra space than to feel cramped all trip.
What are the must-have items for a first-time camper?
Essentials for a first-time camper include: a reliable tent with footprint and rainfly, sleeping bag appropriate to temperatures, sleeping pad, headlamp and spare batteries, food and water (or a means to treat water), stove or cookware if you plan to cook, basic first-aid kit, extra clothing layers and rain gear, a multi-tool, map and compass (or GPS), and fire-starting materials if allowed. Don’t forget personal items like medications, sunscreen, and insect repellent. A small repair kit (duct tape, spare cord, tent patch) and trash bags complete a smart starter kit.
Final Thoughts
Tent camping is a wonderful mix of simple pleasures and small challenges. With a bit of preparation—a smart campsite choice, a backyard test run, and a few comfort-focused tricks—you’ll turn your first trips into memories rather than lessons. Focus on good basics: protect yourself from the elements, keep your gear organized, and treat your sleep system as a single unit. Most importantly, don’t be afraid to learn by doing; every trip teaches something new, and soon these tips will become second nature.