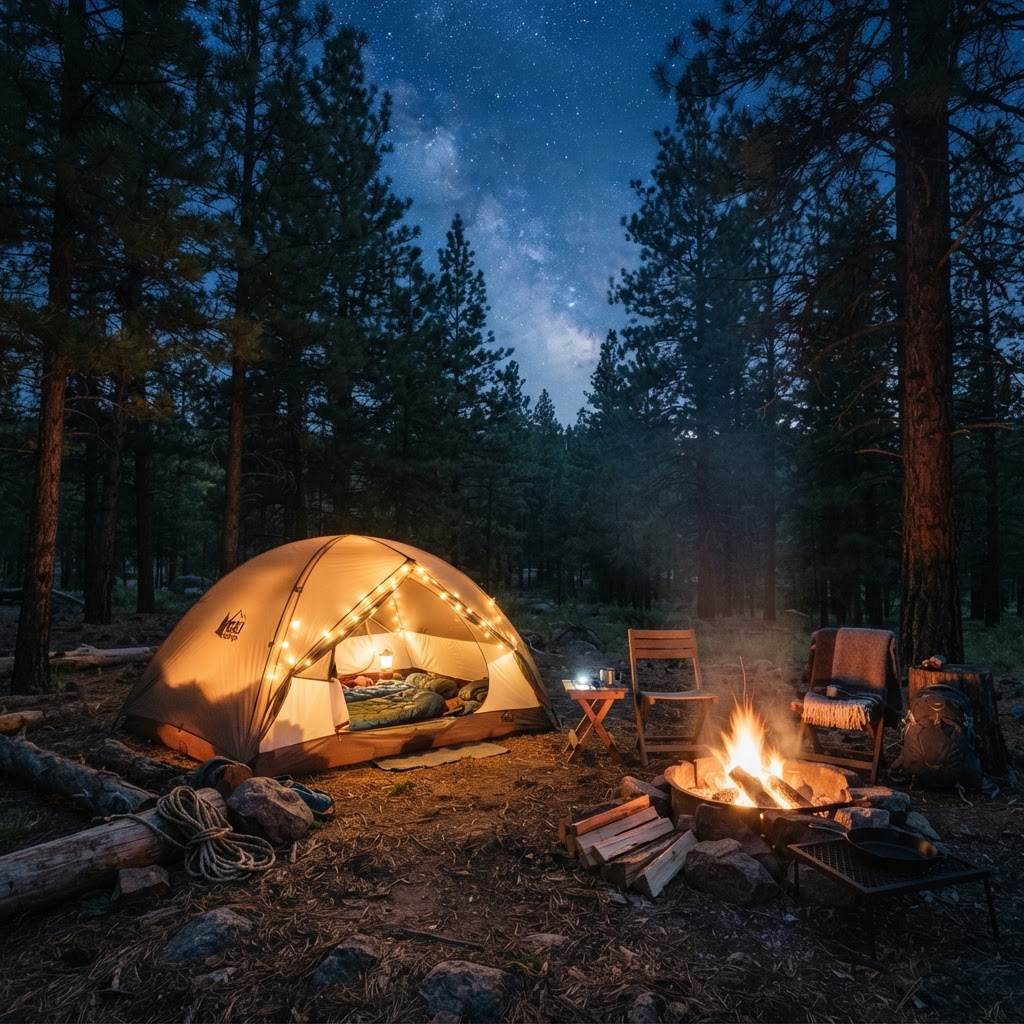

TL;DR:
- Pick a level, sheltered campsite with good drainage, set up your tent on smooth ground, and use a footprint to protect it.
- Master safe fire practices and simple one-pot recipes to eat well with minimal gear.
- Prevent wildlife issues, prepare a compact first-aid kit, and choose the right sleep system for comfort and safety.
You don’t need to be an outdoor expert to enjoy a great camping trip — just a bit of planning and a few practical skills. This guide breaks down the essential abilities every camper should have, from choosing the perfect campsite and pitching a tent quickly, to cooking great meals over a small fire and staying safe and comfortable in the wild.
Think of this as a friendly walkthrough you can read once and use forever. Each section is written in plain language with step-by-step tips, short checklists, and small tricks that make big differences on the trail. Whether it’s your first time sleeping outdoors or your fiftieth, you’ll find something useful here.
Table of Contents
- How To Set Up Camp Like A Professional
- How To Cook Delicious Meals At The Campsite
- How To Stay Safe And Comfortable In The Wild
- FAQ
How To Set Up Camp Like A Professional
Setting up camp efficiently saves time, energy, and frustration — especially as daylight fades or the weather turns. A few smart choices at the start make the whole trip smoother. In this section we’ll cover how to choose the perfect campsite and how to pitch a tent in minutes, including a simple pre-flight checklist you can memorize.
How To Choose The Perfect Campsite
Choosing a campsite is a mix of practical considerations and a little intuition. You want safety, comfort, and a good experience of nature, not soggy ground or relentless wind. Here’s a step-by-step approach that works whether you’re at a car-campground or deep in the backcountry.
- Look for level ground: A flat area is non-negotiable for a good night’s sleep. Slightly sloping ground is OK if it drains away from the tent, but avoid sleeping with your head uphill or downhill.
- Check drainage and runoff: Avoid depressions, dry creek beds, or places that pool water during rain. Even small hollows can fill quickly in a storm.
- Find natural windbreaks: Trees, rock outcrops, or ridges help block prevailing winds. Respect safe distances from dead trees and large overhanging branches (widowmakers).
- Consider sun and shade: Morning sun is great for drying dew; shade in hot climates keeps the tent cool. Think about how the sun’s path will affect you through the day.
- Be mindful of wildlife and water sources: Don’t camp right next to animal trails or too close to water — stick to 200 feet (or the local recommended distance) from lakes and streams to reduce wildlife encounters and protect water quality.
- Leave no trace: Use established campsites when possible. If you must create a new site, pick durable ground (gravel, dry grass) and avoid fragile vegetation.
Pro tip: Walk the site with your headlamp if you arrive near dusk so you can see potential hazards and get a feel for the terrain in the dark before setting your tent.
Once you’ve found the spot, clear debris away where your tent will go, lay down a footprint or tarp to protect the tent floor, and orient the tent door away from prevailing winds. Think about where you’ll cook and store gear, and place your tent so you have a dry walkway between the tent and those zones.
How To Pitch A Tent In Minutes
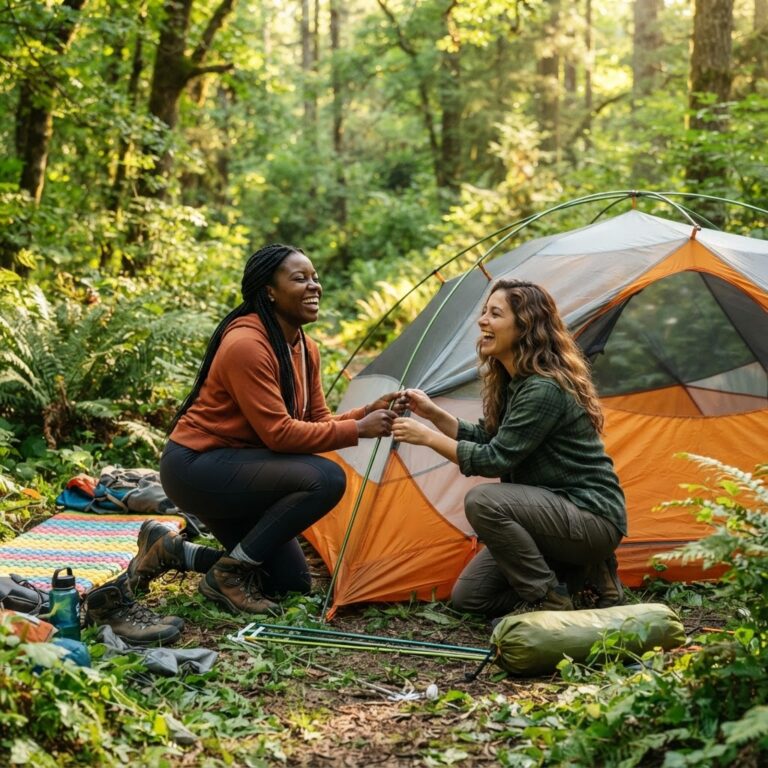
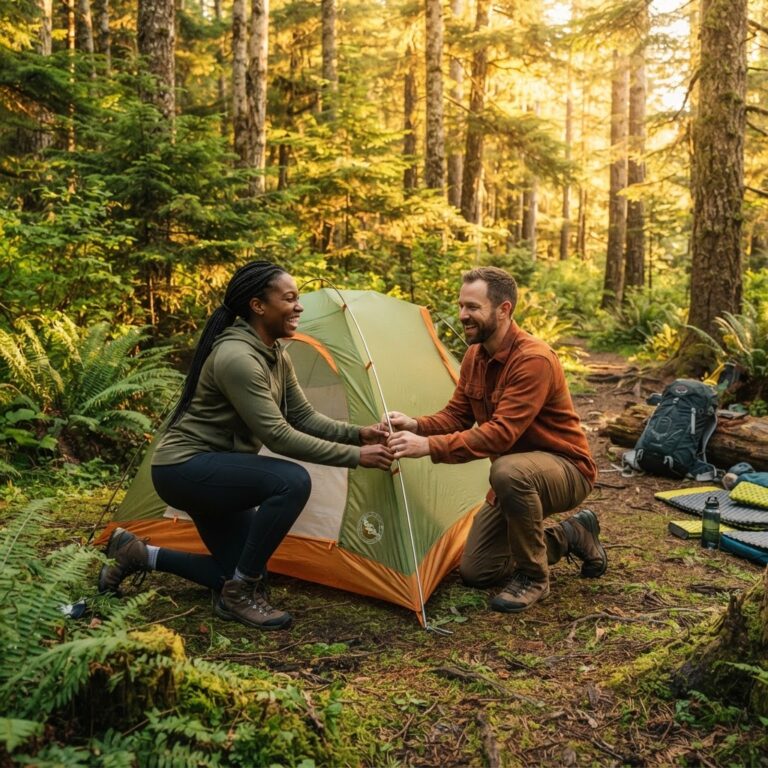
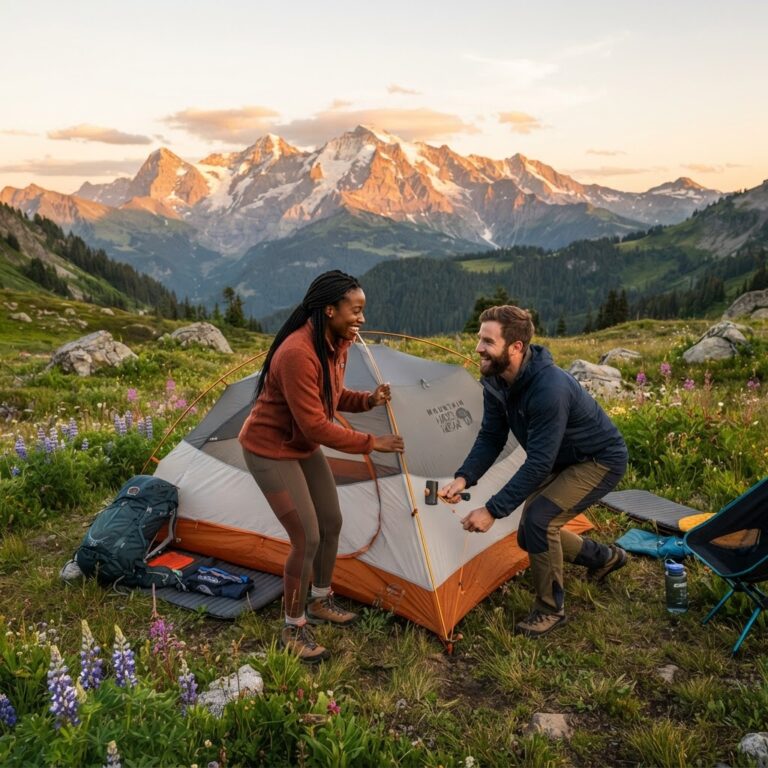
With practice, you can pitch most modern tents in under five minutes. The secret is organization and learning a repeatable routine. Here’s a reliable method that works across freestanding, semi-freestanding, and basic pole tents.
- Do a quick gear check: Poles, stakes, rainfly, footprint, and guylines. Lay them out to make sure nothing’s missing.
- Spread the footprint: Place the footprint or tarp first to protect the tent floor. Make sure it’s centered and doesn’t extend beyond the tent edges (water pooling under the tent is bad).
- Spread the tent body: Lay the tent on the footprint with the door facing the desired direction. Stake down one corner loosely to fix it while you position the rest.
- Assemble poles: Connect poles so they’re ready. Most poles are shock-corded and quick to unfold.
- Insert poles and erect: Insert poles into grommets or sleeves and raise the tent. For freestanding tents, clip the tent body to the poles. For sleeve tents, thread the poles through and lift carefully.
- Tighten stakes and guy lines: Stake out corners firmly, then add tension to guylines to stabilize the structure. Keep stakes at a 45-degree angle away from the tent for best holding power.
- Add the rainfly: Attach the fly starting from the head of the tent and work toward the foot. Ensure vents are oriented correctly for airflow.
Practice this at home at least once. Time yourself, tweak your routine, and learn where each part goes without reading instructions. The faster and more confident you become, the more energy you’ll save for the fun parts of camping.
Quick checklist to memorize: footprint → tent body → poles → stake corners → clip/attach → rainfly → guy out.
How To Cook Delicious Meals At The Campsite
Great food can turn a good trip into an unforgettable one — and it doesn’t require a heavy load or a long cooking time. In this section we’ll cover safe campfire practices and simple, tasty one-pot meals you can make with minimal gear.
How To Start A Safe Campfire
Campfires are part of the outdoor experience for many people, but they come with responsibilities. Use campfires only where allowed, and always follow local rules. If fires are permitted, follow these steps for a safe, manageable fire.
- Use established fire rings: Most campgrounds have designated rings. They keep fire contained and reduce environmental impact.
- Gather the right fuel: Collect small twigs and dry kindling (matches the diameter of a pencil), then slightly larger sticks for feeding the fire. Don’t cut live wood; use deadfall or purchase firewood locally to avoid invasive species.
- Build a simple structure: The teepee or log cabin structure works best for quick ignition. Start with kindling in the center and build up larger sticks around it. Leave space for airflow.
- Ignite safely: Use waterproof matches or a reliable lighter. Light from the wind-protected side and slowly feed the fire as it grows.
- Manage the flame: Keep the fire small — you only need a manageable flame for cooking and warmth. Avoid burning plastics, cans, or anything that releases toxic fumes.
- Extinguish completely: Let wood burn to ash if possible, then drown the fire with water. Stir the ashes and add more water until they are cool to the touch. If water is scarce, use dirt as a secondary measure but ensure cooling.
Safety reminder: Never leave a fire unattended even for a minute. A small gust can spread embers quickly.
For many trips, a small backpacking stove is a safer, faster option. It’s reliable in wet conditions and great for one-pot meals. Pack fuel appropriately and practice lighting and shutting off the stove at home.
How To Pack Easy One-Pot Camping Meals
One-pot meals reduce cleanup and simplify cooking. They’re perfect for campsite stoves or small fires. The key is layering flavors, prepping at home, and using ingredients that store and cook well.
- Choose the right pot: A 1.5–3 liter lightweight pot with a lid is versatile for 1–4 people. Non-stick or titanium options reduce cleanup time.
- Prep at home: Chop vegetables, pre-cook dense items (like potatoes or hard squash), and measure spices into small bags. Pre-measured mixes save time and reduce waste.
- Base formulas to memorize:
- Rice + protein + veg + sauce = simple one-pot rice skillet
- Pasta + canned tomatoes + veggies + cheese = hearty pasta
- Grains + beans + seasoning + stock = filling stew
- Use versatile ingredients: Dehydrated vegetables, instant rice, lentils, canned tuna or chicken, and hard cheeses travel well and add nutrition.
- Layering and timing: Add ingredients based on their cook time. Start with aromatics (onion, garlic), then proteins, then grains/legumes, then vegetables that cook quickly. Cover and simmer to meld flavors.
Here are three failproof one-pot recipes to try:
- Hearty Lentil Stew: Sauté onion and garlic, add carrots and pre-soaked lentils, cover with stock and simmer 20–30 minutes. Finish with a squeeze of lemon and a drizzle of olive oil.
- Campfire Pasta: Combine pasta, canned tomatoes, a bit of water, oregano, and sliced sausage. Cover and cook until pasta is done, stir in a handful of spinach and grated Parmesan.
- Rice & Bean Skillet: Brown onion, add cooked rice, drained canned beans, corn, taco seasoning, and a splash of stock. Heat through and top with cheese and salsa.
Kitchen hack: Bring a small silicone spatula and a pack of biodegradable soap. Clean while the pot is still warm — it makes scrubbing a lot easier.
Good food makes evenings around the campsite more enjoyable. Simple preparation, the right gear, and a little practice go a long way.
How To Stay Safe And Comfortable In The Wild
Comfort and safety are the backbone of enjoyable camping — they affect sleep quality, your ability to cook and move around, and even your return trip. Here we’ll cover how to keep wildlife away from your food, build a reliable camping first aid kit, and help you choose the right sleeping system with a quick comparison table.
How To Keep Wildlife Away From Your Food
Wildlife is naturally curious and motivated by food. Storing food properly protects wildlife and your gear. Follow these practical, widely accepted habits wherever you camp.
- Use bear-proof lockers or canisters: In areas with bears, use the provided lockers or carry a certified bear canister. These are the best defense and often required by park rules.
- Hang food at the right distance: In places without canisters, hang food in a bear bag 10–15 feet off the ground and 4–6 feet out from the trunk of a sturdy tree. Use a pulley system or a lightweight rope.
- Keep a clean camp: Wash dishes immediately after eating, store trash in sealed bags, and dispose of waste properly. Don’t leave food scraps or wrappers lying around.
- Cook away from your sleeping area: Prepare and eat food at least 50–100 feet from your tent to avoid attracting animals to your sleeping area.
- Use odor-proof containers: For long trips, invest in odor-blocking bags or airtight containers to minimize scent.
Common sense rule: If an animal approaches your campsite, do not feed it. Make noise, secure your food, and follow local protocols for bearing/encounter response.
How To Build A Reliable Camping First Aid Kit
A compact, well-organized first aid kit is one of the most important items in your pack. You don’t need to be a medic, but you should be prepared for common issues: cuts, blisters, sprains, insect bites, and basic illnesses.
- Base supplies: Adhesive bandages (various sizes), sterile gauze, medical tape, antiseptic wipes, antibiotic ointment, tweezers, small scissors, and disposable gloves.
- Pain and inflammation: Ibuprofen or acetaminophen and antihistamines for allergic reactions. Include blister treatment (moleskin or blister pads).
- Wound care: Sterile dressings, wound closure strips, and a compact dressing for larger cuts. Pack a small bottle of saline for flushing debris.
- Tools and extras: A CPR mask, a triangle bandage for slings, and a SAM splint or elastic bandage for support of sprains.
- Personal meds and documentation: Pack any prescription meds in their original containers plus copies of prescriptions. Include a small waterproof card with emergency contact info and known allergies.
- Weather/condition supplements: Sunscreen, lip balm with SPF, insect repellent, and oral rehydration salts if you’ll be sweating a lot.
Practice using items at home so you’re not learning on the trail. A basic first-aid course gives confidence and context to kit contents — highly recommended if you camp often.
Comparing Sleeping Systems: Find What Suits You
Your sleep system is central to comfort and safety. Below is a quick comparison table of three popular sleeping pad types to help you decide based on warmth, weight, and durability. Choose what matches your priorities — warmth for cold nights, lightness for backpacking, or toughness for rough ground.
Tip: For cold conditions, a combination of an inflatable pad plus a closed-cell foam pad underneath gives excellent protection from ground chill without excessive weight.
Comfort checklist: pad + appropriate sleeping bag rating + insulated sleeping pad + small pillow or stuff sack pillow = better sleep.
Combine these elements — campsite selection, food handling, first aid, and a proper sleep system — and you’ll be set to enjoy the outdoors with more confidence and less stress.
Frequently Asked Questions
How to pack for a camping trip for beginners?
Start with the essentials: shelter (tent, footprint, stakes), sleep system (pad and bag rated for expected temps), cooking kit (stove, fuel, pot, utensils), water treatment, clothing layers, and a basic first-aid kit. Use a checklist and pack by zones: sleeping gear at the bottom, cooking and camp items near the top, and items you’ll use on the trail (rain jacket, snacks, water) easily accessible. Keep food sealed and separate from sleeping gear, and distribute weight evenly. Practice packing at home so you’re familiar with where everything goes.
How to stay warm in a tent during cold nights?
Layering is key: wear moisture-wicking base layers, insulating mid-layers, and a hat. Use a sleeping bag rated for temperatures colder than you expect, and pair it with a good sleeping pad (R-value suited to the cold). Block drafts by zipping vents strategically while maintaining some airflow to reduce condensation. Eat a warm meal before bed and hydrate — your body needs fuel to produce heat. Lastly, keep electronics and water bottles insulated from cold nights (an insulated sleeve helps). Avoid sweating by not wearing too many layers to bed — sweating cools you down quickly.
How to leave no trace while camping?
Follow the seven Leave No Trace principles: plan ahead and prepare, travel and camp on durable surfaces, dispose of waste properly (pack out trash and leftover food), leave what you find, minimize campfire impacts (use established fire rings or stoves), respect wildlife (store food properly and observe from a distance), and be considerate of other visitors. Small actions — carrying a trash bag, using existing fire rings, burying human waste properly where allowed, and avoiding trampling vegetation — make a huge difference.
Final Thoughts
Camping is a powerful way to unplug, reset, and enjoy nature. With the basics covered — picking the right site, pitching your tent efficiently, cooking safely, and preparing for comfort and emergencies — you’ll spend more time enjoying the outdoors and less time worrying. Practice at home, keep your gear organized, and respect the environment and local rules. Each trip makes you a little better, and soon these skills will become second nature. Now grab your gear, plan a simple trip, and go practice what you’ve learned. Happy camping!